

How to Create Custom Patches | DIY Guide for Embroidery
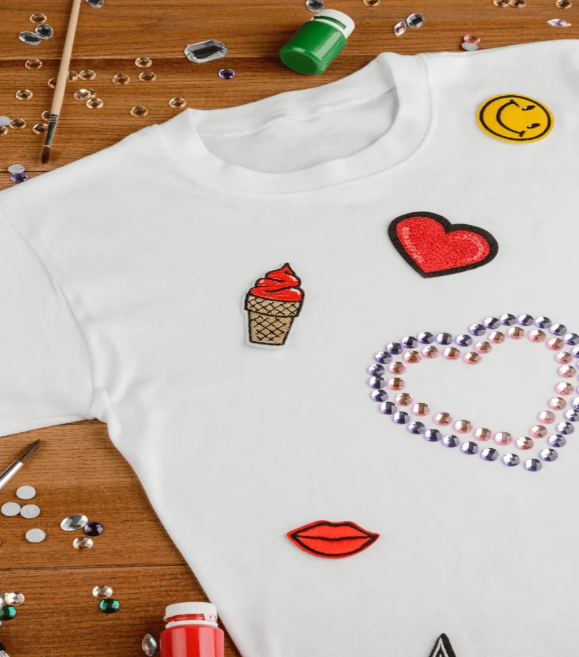
Fabric patches are a brilliant way to stand out – they’re eye-catching, long-lasting, and can showcase a message or vibe in a neat, compact form.
Learning how to create custom patches is a fantastic way to show off your creativity, promote your business, or add a personal touch to your clothing and gear!
Whether you’re keen to design a custom patch for your business, club, or just for yourself, making your own patches is not only rewarding but also a budget-friendly option.
Create Custom Patches
Materials Needed to Make Custom Patches
When making your own custom patches, using top-quality materials might cost a little more upfront, but they usually result in better-looking, longer-lasting patches — giving you more bang for your buck in the long run.
Fabric Options
If you're learning how to make custom embroidered patches, you've got a few fabric choices — each with its own benefits and things to keep in mind. Some popular options include twill, felt, and canvas.
Your fabric selection can impact how well the embroidery turns out. Tightly woven fabrics like twill and canvas are great for detailed stitching and are less likely to pucker. Felt is a bit softer and might need a more delicate approach to prevent any distortion.
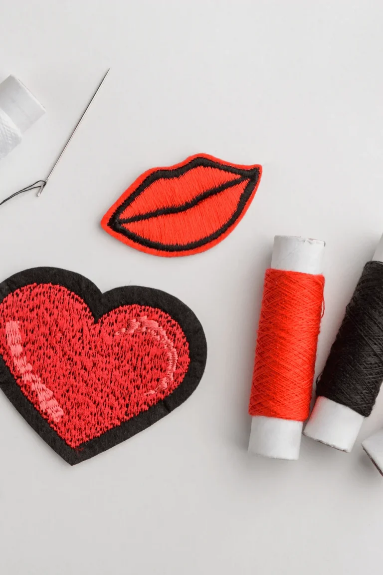
Embroidery Threads
The type of embroidery thread you choose can make a real difference in how your patches turn out and how well they hold up over time. The three main types of embroidery thread are polyester, rayon and metallic.
- Polyester thread is strong, colourfast and resistant to fading, which makes it a top pick for patches that’ll be washed often.
- Rayon thread has a beautiful sheen and comes in heaps of colours, but it’s not quite as tough as polyester.
- Metallic thread adds a bit of sparkle and flair to your patches, though it can be a bit tricky to work with and isn’t quite as durable as the other options.
Picking the right colours is key when it comes to thread selection. The shades you go with will really bring your design to life, so it’s worth spending a bit of time making sure they work well together.
Keep in mind that embroidery thread colours can look a bit different once they’re stitched compared to how they appear on the spool. Doing a quick test stitch first can help you avoid any surprises before diving into the full design.
Backing Materials
The backing you choose for your patch will determine how it’s attached to clothing or other gear. Some common options include iron-on, Velcro and adhesive backings.
- Iron-on backing is a popular choice because it’s quick and easy to apply and holds pretty well. That said, it doesn’t suit all fabric types and can come loose over time with regular washing.
Tools and Equipment
To get started with custom patch-making, you’ll need a few basic tools:
- Sharp scissors for cutting fabric and thread
- Embroidery needles (if you’re stitching by hand)
- Embroidery hoops to keep your fabric nice and taut
If you want to make things easier, an embroidery machine is a total game-changer. It lets you create neat, professional-looking designs quickly and with much less effort.
You can make patches by hand, but learning how to create a custom patch using a machine can save you a heap of time and makes it much easier to pull off detailed designs.
Some handy extras that can level up your patch-making game include fabric markers for sketching out your designs, a heat press for evenly applying iron-on backings, and a light box to help trace designs onto fabric. Not essential, but definitely helpful if you want that polished, professional finish.
Different Techniques for Creating Custom Patches
Machine Embroidery
Machine embroidery is a top pick for making custom patches, especially when you’re producing them in bulk. It offers plenty of benefits like speed, accuracy, and consistency.
This method is best suited for designs with clean lines and solid colour blocks. It’s ideal for stitching text, logos, and intricate patterns that would be too fiddly to do by hand. However, really fine details or colour gradients can be a bit harder to achieve with a machine.
While machine embroidery gives you professional-looking results quickly, it does require an upfront investment in both equipment and time to get used to it. You’ll need to learn how to use your embroidery machine and software, which might take a bit of practice.
But once you’ve got the hang of it, you’ll be able to produce high-quality patches with ease.
Hand Embroidery
Hand-embroidered patches have a charming, handmade quality that many people love. This technique gives you heaps of creative freedom and allows for effects that can be tricky to replicate by machine.
It’s perfect for designs that need a softer or more organic feel. Hand embroidery also adds lovely texture and depth to your patches. That said, very small text or highly detailed designs can be difficult to achieve by hand.
Time is another factor — depending on your design, a hand-stitched patch can take hours to complete. It also takes a bit of skill and patience. But for many, it’s a relaxing and rewarding process, and the end result is truly one of a kind.
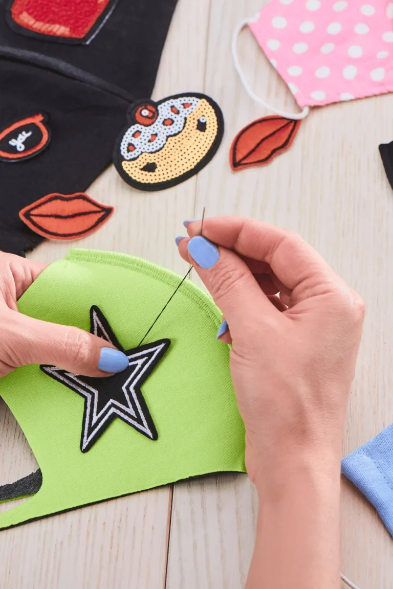
Appliqué Method
Appliqué involves attaching fabric pieces onto a base fabric to create your design, adding interesting texture and dimension to your patches.
This method works a treat with bold, graphic designs and can be paired with embroidery to add finer details. For instance, you can use fabric to form the main shapes and then stitch around them for a more polished finish.
When choosing fabrics, think about how they’ll look and feel together. You’ll want materials that complement each other in colour and texture. Felt is a popular pick because it doesn’t fray, making it super easy to work with.
Create Custom Patches: A Step-by-Step Guide
Preparing Your Fabric
Start by picking a fabric that suits your design and how you plan to use your patch. Cut it to size, leaving a bit extra around the edges to allow for fraying or finishing.
Most embroidery techniques require stabilising your fabric to stop it from puckering and to keep your stitches neat. This usually involves using an embroidery stabiliser, which can be ironed onto the back of the fabric or placed in the hoop underneath. The type of stabiliser you’ll need depends on your fabric and how detailed your design is.
Some fabrics may need a little prep before you start stitching. Pre-washing can help prevent shrinkage, and for fabrics with a thick pile, a water-soluble topping helps stop your stitches from sinking in.
Setting Up Your Embroidery Machine
If you’re using a machine, getting it set up right is key to a good result. Start by threading it with your chosen embroidery thread and making sure you’ve got the correct needle for both your fabric and thread.
Then, load your design. This usually involves transferring a digital file from your computer to the machine, often with a USB stick or direct connection. Many machines come with built-in designs, but for custom patches, you’ll likely be creating your own using embroidery software.
Choose a hoop that suits your patch size and secure the stabilised fabric. It should be firm but not stretched too tight — too much tension can distort your final design.
Embroidering the Design
To get clean, professional-looking results, always run a test stitch on a scrap piece of fabric first. This lets you check your tension and make sure everything is stitching properly.
Keep an eye on your machine while it’s running — especially at the start. Watch out for thread breaks or loops, which could mean a tension issue or a problem with your needle. These are usually easy to fix if caught early.
For multi-colour designs, you’ll need to change threads as you go. Most machines will pause automatically when it’s time to switch colours. Be gentle when changing threads — tugging on the fabric can distort your design.
Cutting and Finishing the Patch
Once your design is stitched out, it’s time to cut out your patch. Use sharp scissors and trim carefully around the edge, leaving a small border if you prefer. If fraying is a concern, apply a product like Fray Check before cutting.
To finish it off professionally, many patch makers use a technique called merrowing, which involves a special machine that stitches a tight overlocked edge around the patch. If you don’t have one, you can get a similar effect with a tight zigzag stitch.
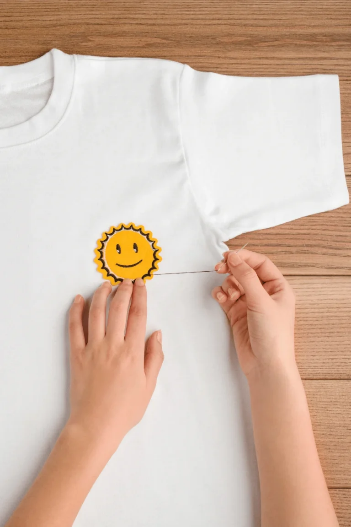
Then, attach your chosen backing. For iron-on patches, use a heat press or iron to apply even heat and pressure. For adhesive backings, make sure your patch is clean and dry before applying. If you’re using Velcro, stitch it securely onto the back.
Unleash Custom Patch Creativity with Ricoma!
Ricoma offers a range of sewing and embroidery machines that are perfect for creating patches – from compact models ideal for hobbyists to heavy-duty machines built for high-volume production. Check out our range of sewing machines, suited to both beginners and experienced crafters, and bring your patch designs to life.
5th Jun 2025