

How to Make Custom Printed Caps – Embroidery, DTG & Heat Transfer Guide
All the Ways to Make Custom Printed Hats
Custom-printed hats are a brilliant way to show off your style or give your brand a bit of extra visibility. Whether you go for the bold, long-lasting colours of screen printing or the textured, premium finish of embroidery, each technique has its own unique perks and possibilities.
From embroidery to heat transfer, there are many of ways to create standout custom hats for your business!
How to Embroider Caps
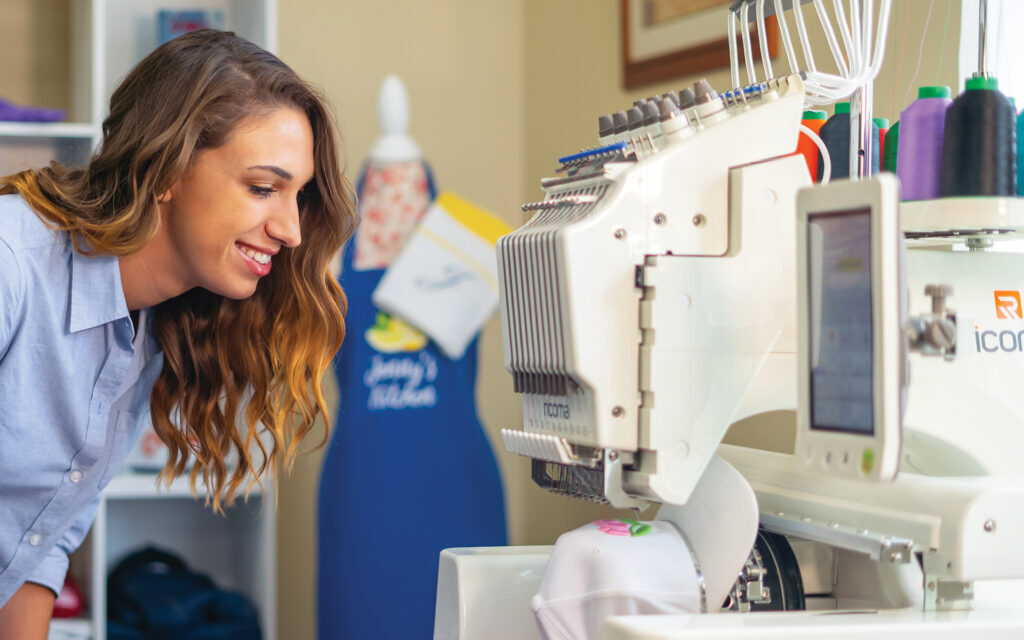
How to Embroider Your Own Custom Caps
Embroidery gives your custom caps a classy, textured look that’s perfect for logos and detailed designs. Here’s a simple step-by-step guide to help you stitch up your own hat creations.
Digitise Your Design
First things first – it’s time to digitise! This means converting your artwork into a file format your embroidery machine can read and stitch properly. You can use embroidery software like Chroma, or get a pro digitiser on board if you're just starting out.
Make sure to resize your design to suit different hat styles – what looks top-notch on a trucker cap might need tweaking for a beanie or bucket hat.
Hoop the Hat
Next, hoop your hat nice and tight. Use a hat-specific embroidery hoop that’ll keep your fabric firm and in place while stitching – no one wants a wonky logo!
Pro tip: Place a stabiliser inside the hat. It'll help it hold shape and stop any fabric stretching or warping mid-stitch.
Test & Calibrate Your Machine
Before you dive into the real deal, always do a test run. Use some scrap fabric or a similar hat material to check your design’s alignment and tension.
Adjust your machine’s settings – like stitch density and speed – so they’re spot on for hat embroidery. Keep your machine in top nick too – regular cleaning and oiling goes a long way.
Embroider the Hat
Once you’re all set, it’s time to embroider your hat. Choose quality threads (Polyester is good for durability) and needles suited to the fabric you’re using.
Keep an eye on thread tension – too tight and it’ll pucker, too loose and it won’t hold. Watch the machine closely to keep your stitch quality spot-on.
Trim and Finish
When you’re done, trim off any stray threads using a sharp pair of embroidery scissors. Give your hat a once-over to make sure everything looks clean and professional.
You can even add some extra flair or finishing touches to give your hat a unique finish .
How to make Heat Transfer Caps
Whether you're putting together custom-printed caps for a footy team, a local event, or just your own collection, here's a step-by-step guide to help you achieve professional-quality heat transfer prints like a true pro!
Think About Your Hat’s Material
Not all caps are made the same, and different fabrics can behave differently when you apply heat. That’s why it’s important to pick heat transfer materials that play nice with your hat’s fabric.
Go for heat transfer vinyl (HTV) that’s made especially for caps. These ones are usually thinner and more flexible, which makes them perfect for wrapping around those curved panels.
Before diving into your main project, do a quick test run on a hidden spot of the hat. It’s a good way to check if the vinyl sticks well and won’t damage the material.
And if you’re working with heat-sensitive materials—like synthetic blends or delicate straw—go easy on the heat. A little extra care can stop your hat from getting damaged or warped.
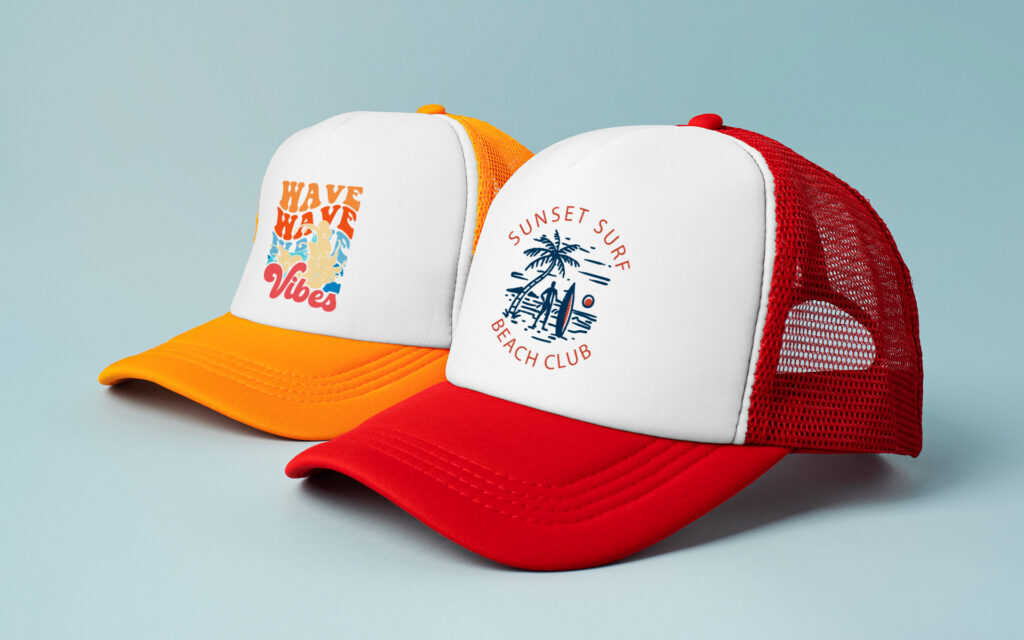
Customise and Size Your Design
Next up, tailor your design to suit the unique shape and size of caps!
Choose or create artwork that works well on curved surfaces—simple, bold designs usually look the best. Make sure your design is sized appropriately for the hat style you're working with. You might need to scale it up slightly to allow for any shrinkage or stretch during the heat transfer process.
If your design includes multiple colours or layers, plan your layering sequence carefully to get the right look and ensure everything sticks properly.
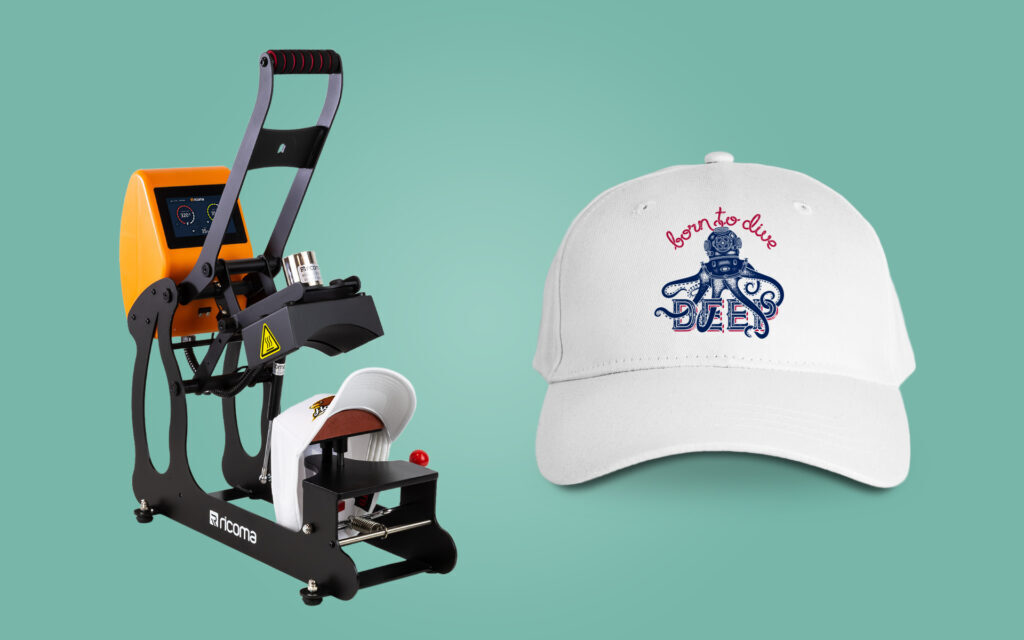
Set Your Heat Application Settings
Set your heat press (or iron) to the recommended temperature and pressure for the type of heat transfer vinyl and hat material you're using.
Using a heat press made specifically for caps helps to apply even heat and pressure across the curved surface. Fine-tune your settings based on your vinyl type and fabric to get vibrant results that last.
Aim for a smooth, bubble-free transfer that’s stuck on properly for long-lasting wear.
Peel the Transfer Paper & Make Final Adjustments
Once you’ve applied the heat, gently peel off the transfer paper, following the manufacturer’s instructions to avoid lifting the vinyl.
Check over your hat for any imperfections or touch-ups before calling it done. If you spot any issues like uneven sticking or wrinkling, adjust your heat or pressure settings and try again.
How to make DTF Caps
Direct-to-Garment (DTG) printing is a top-notch way to create high-quality, custom caps with detailed designs.
Direct to Film (DTF) printing is a great way to create high quality, custom caps with detailed designs. Here’s how to get started:
- Use a Cap Heat Press with a curved platen.
- Place a heat-resistant pillow or foam insert inside the cap for a flat surface.
- Secure the DTF transfer to the cap securing it down with heat resistant tape.
- Cover the transfer with a protective sheet like a Teflon.
- Press design onto the cap using medium to Firm pressure. Consider a second press for a durable finish.
- Peel the film either hot or cold, depending on transfer type.
- Allow the transfer to cool down completely before handling to prevent smudging or damage.
- Keep the Heat press and surrounding area clean for optimal results.
24th Jul 2025