

How to Remove Embroidery Safely: Step-by-Step Guide & Tips
How to Remove Embroidery Safely
Even the most experienced embroiderers have to unpick their stitches now and then. Whether you're correcting a mistake, refreshing a design, or breathing new life into a pre-loved piece, knowing how to properly remove embroidery is a handy skill to have.
Here’s a step-by-step guide to help you through the process — along with a few extra tips to make the job a whole lot easier!
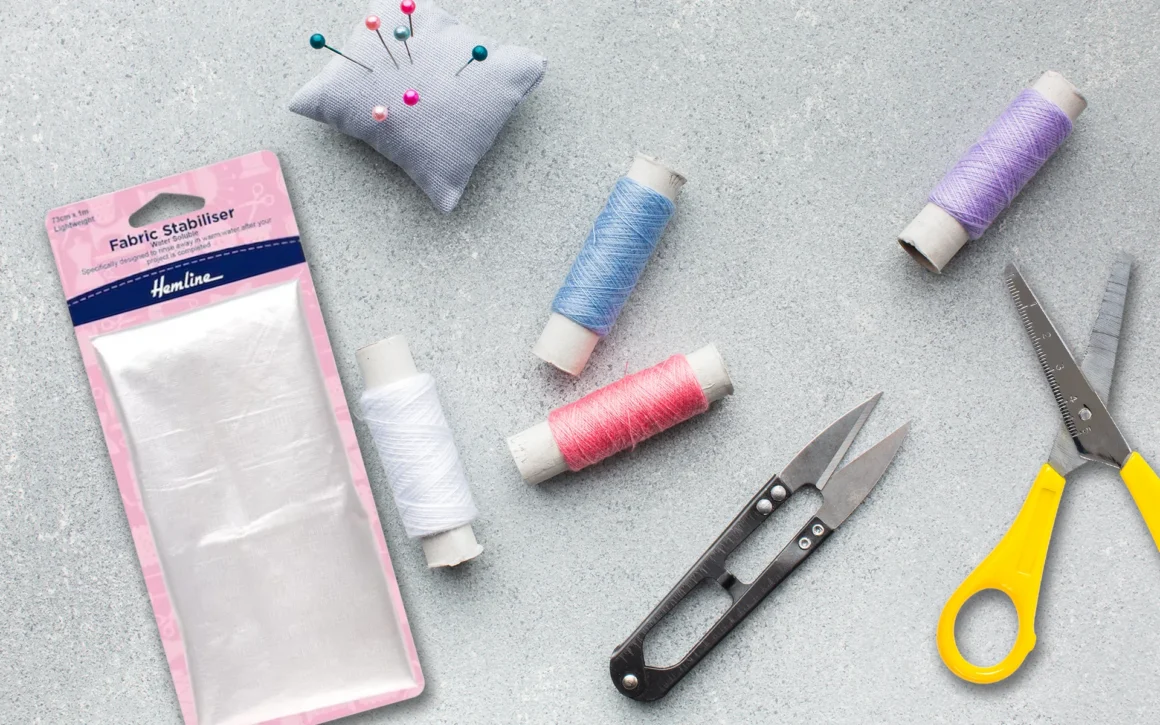
Tools and Materials Needed
Seam Ripper
When it comes to how to remove embroidery, a seam ripper is an absolute must-have!
This handy little tool features a sharp point on one end and a curved hook on the other. The pointed end is great for carefully cutting through threads, while the hook helps lift and pull them out without damaging the fabric.
Embroidery Scissors
While the seam ripper does most of the heavy lifting, a good pair of embroidery scissors is just as important.
These small, sharp scissors give you the precision to snip threads close to the fabric without risking damage to your base material.
Tweezers
Tweezers are super handy for pulling out those stubborn little threads that are too tricky to grab with your fingers — especially the short or tightly woven ones.
Pro tip: Angled tweezers are the way to go. Their slanted tips make it easier to see and remove those pesky threads.
Fabric Stabiliser (optional, depending on fabric type)
If you’re working with delicate or stretchy fabric, a fabric stabiliser can be a real lifesaver. It helps stop the fabric from stretching or distorting while you're removing the embroidery.
There are different types available — like wash-away or tear-away — depending on your fabric and what you need. Just be sure to follow the instructions on the packaging for best results.
Assess the Embroidery
Before you jump into snipping and unpicking, take a moment to properly assess the embroidery.
Is it machine-stitched or done by hand? Are you trying to remove embroidery from a shirt, or maybe a cap? What type of fabric are you working with?
Machine embroidery is usually easier to remove, as the stitches tend to be uniform and consistent. Hand embroidery can be a bit trickier — especially if the stitches are very fine or tightly worked.
Delicate fabrics like silk or lace need a gentle touch, while sturdier fabrics such as denim or canvas can handle a bit more pressure.
Every project is different, so it’s a good idea to test your removal method on a hidden section of the fabric first. That way, you can avoid any unwanted surprises and make sure you don’t accidentally damage your item.
Step-by-Step Guide to Removing Embroidery
1. Preparing the Fabric
Turn your garment inside out — whether you’re removing an embroidery patch or any other type of stitching. This way, you’ll be working from the back, where all those messy threads are hiding.
Next, take a good look at your fabric. If it’s delicate or prone to snagging, it’s worth giving it a bit of extra protection.
Grab some masking tape or painter’s tape and carefully cover the right side of the fabric (the front, where the embroidery is visible).
This helps shield the fabric from damage while you work from the reverse side.
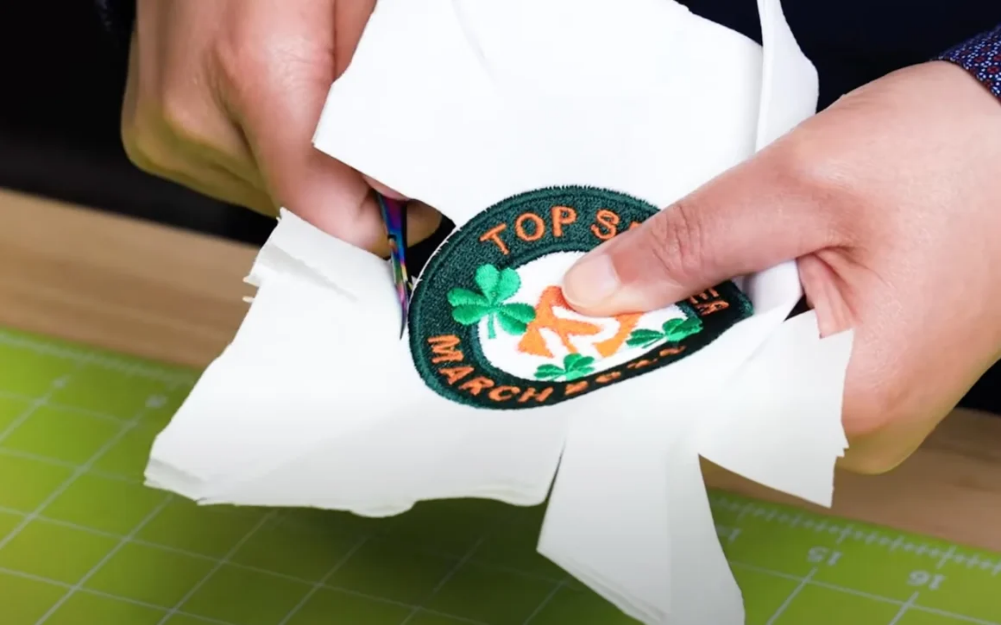
2. Cutting Threads
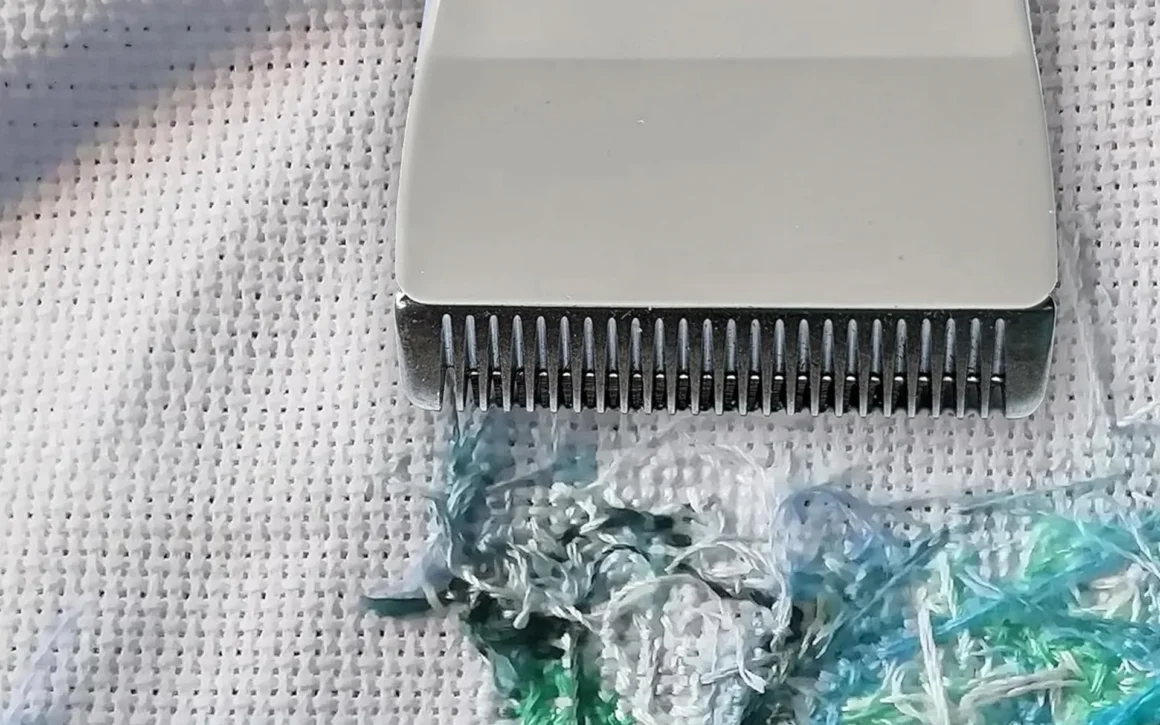
Now that your fabric’s prepped, it’s time to bring in your seam ripper or embroidery scissors—your trusty sidekicks for this task.
If you're wondering how to remove embroidery with backing, start by gently sliding the sharp point of the seam ripper or scissors under a thread on the back of the embroidery. Carefully lift the thread and snip it. Go slowly and work in small sections to avoid cutting the fabric by accident.
For machine embroidery, you might be able to slice through a few threads at once. But if it’s hand-stitched, you’ll likely need to cut them one by one. Just keep working your way through, section by section, until all the threads have been cut.
Soon enough, you’ll have a neat little pile of thread bits and a garment ready for a new look!
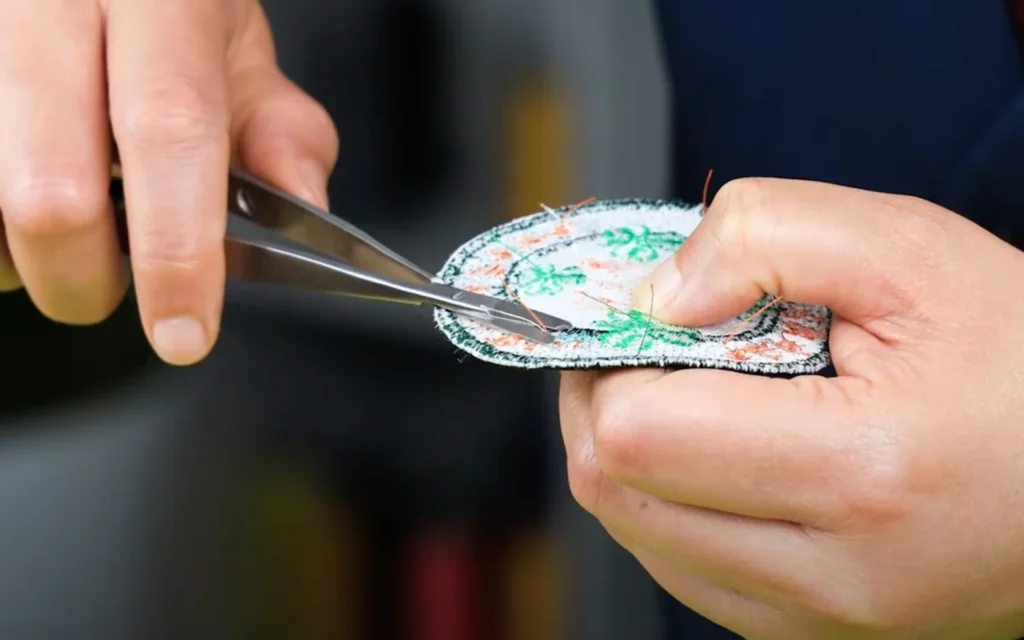
3. Removing Stitches
Once you’ve snipped all the threads from the back, flip your fabric over and grab your tweezers.
Gently pull the loose thread ends through to the back. When removing embroidery stitches, take care not to tug too hard—you don’t want to damage the fabric. If some threads are a bit too short or stubborn, use the point of your seam ripper to gently loosen them.
Still spotting some tiny threads stuck in the fabric? No dramas—a lint roller or a bit of sticky tape can quickly clean up the leftovers.
4. Finishing Touches
Nice one—you’ve removed the embroidery! Before you call it done, let’s finish it off properly.
Check over the fabric to make sure you haven’t missed any stray threads. If it’s all clear, give it a wash according to the care label to get rid of any loose fibres or dust.
If the fabric’s looking a bit wrinkled, a quick iron or a gentle steam will have it looking good as new.
Removing Embroidery from Delicate Fabrics
Working with delicate fabrics like silk, chiffon or lace? You’ll want to take it slow and steady.
Start by stabilising the area around the embroidery using a piece of fabric stabiliser. This helps prevent any stretching or tearing while you work.
When it’s time to cut the threads, use a smaller seam ripper or even a fine needle to avoid damaging the fabric. Work gently and patiently, easing out each thread one at a time.
Removing Embroidery from Thick Fabrics
Tough fabrics like denim or canvas need a bit more effort to work with. The thicker weave and stronger threads can make removal a bit of a challenge.
If your standard seam ripper isn’t cutting it, try a larger version or a purpose-made tool like a stitch eraser. These are built for heavy-duty threads and can make the job much easier.
Even with sturdier tools, take care—work slowly and be mindful not to leave holes or rough patches in the fabric.
Alternative Methods for Removing Embroidery
While most people stick to seam rippers and scissors, there are a few other methods out there.
Some use a razor blade to carefully shave off the stitches, but this can be risky and needs a really steady hand to avoid slicing the fabric.
Others mention chemical thread removers, but these can be harsh and aren't usually recommended—especially on delicate or coloured fabrics.
At the end of the day, the best way to remove embroidery is with patience and care. It’s all about removing the stitches without damaging your material.
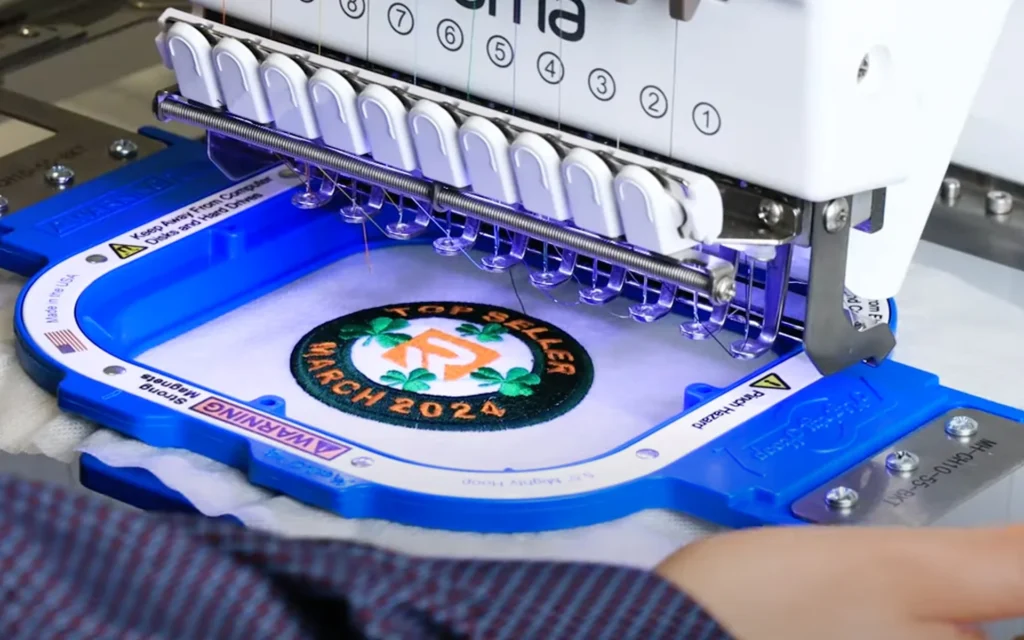
Start Your Embroidery Journey with Ricoma!
Now that you’ve nailed the process of removing embroidery, it’s time to turn your attention to creating something brand new!
Whether you’re just getting started or already a pro, Ricoma has everything you need to bring your embroidery dreams to life. From the user-friendly MARQUEE embroidery machine to the powerful Chroma digitising software, every tool is designed to help you stitch with confidence.
So what are you waiting for? Compare Ricoma embroidery machines today and start your creative journey—your next masterpiece is just a stitch away!
For more inspiration, follow us on:
Facebook | Instagram | Pinterest | YouTube | Twitter| Tiktok
17th Jun 2025